
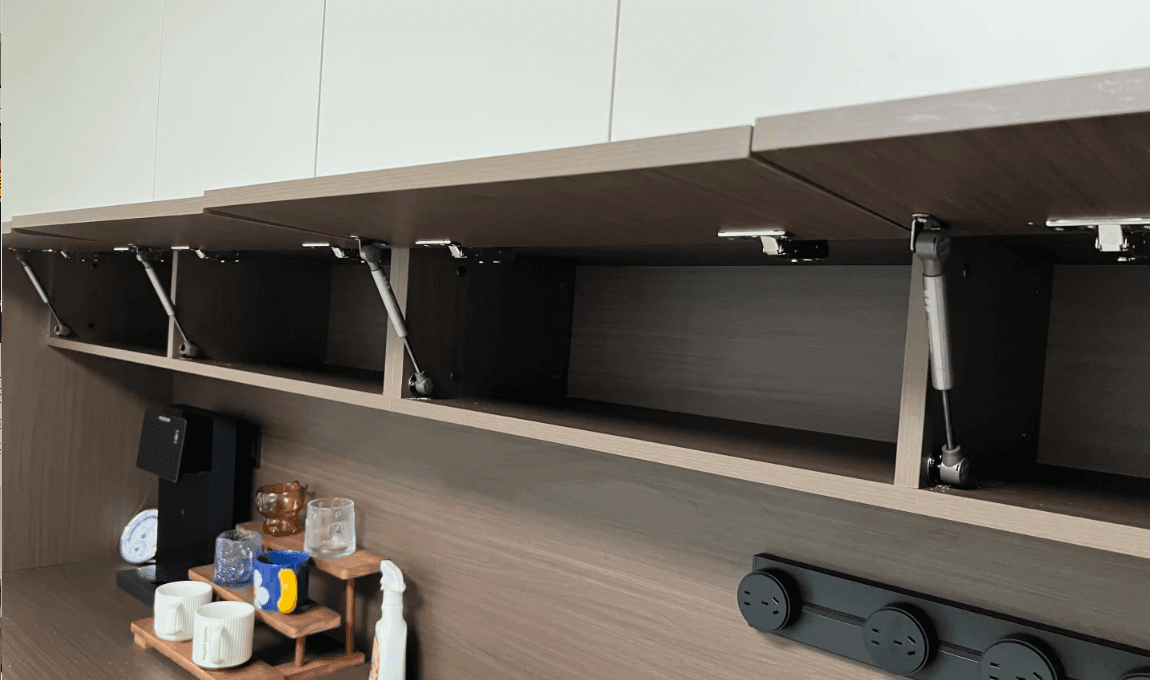
Flap Door Gas Struts: Selection, Force Calculation, and Precise Installation Angle & Position Adjustment
Stop guessing on flap door gas strut force. This engineer-backed flap door gas struts guide covers damped lift-up door strut selection, torque balance calculation, and over‑center geometry for a soft, precise close.
Quick Diagnosis: What’s Your Flap Door Issue?
Match the symptom to the right fix:
- Won’t close tight, visible gap → Closing torque too low, geometry off → Jump to Installation Geometry
- Slams open or drops fast → Force too weak or damping dead → See Force Calculation
- Pops open by itself → Force too strong or mounting point wrong → See Force Calculation
- Stiff mid‑travel, feels jammed → Lever arm too short, side load binding → Read Installation Geometry
Selection Basics: 3 Types of Flap Stays
Free gas springs – constant force, zero damping. The lid slams unless you catch it. Fine for a garage tool cabinet, but keep them out of the kitchen.
Damped gas struts (recommended) – a hydraulic damping cartridge slows the last 1–2 cm to a soft close. In greasy kitchen air, damped units last longer because they usually ship with a protective boot; the exposed rod on a free type wears faster. Always install them rod‑down to keep the oil pool lubricating the damping valve — a detail most spec sheets don’t mention but installers learn quickly. For a reliable, quiet close, browse our premium damped cabinet gas struts.
Lockable gas springs – hold any position. Essential when both hands are busy: RV overhead lockers, medical equipment lids, and heavy floor hatches.
Summary: For a premium, safe feel in the home, always specify damped gas struts.
Core Calculation: How to Compute the Required Force
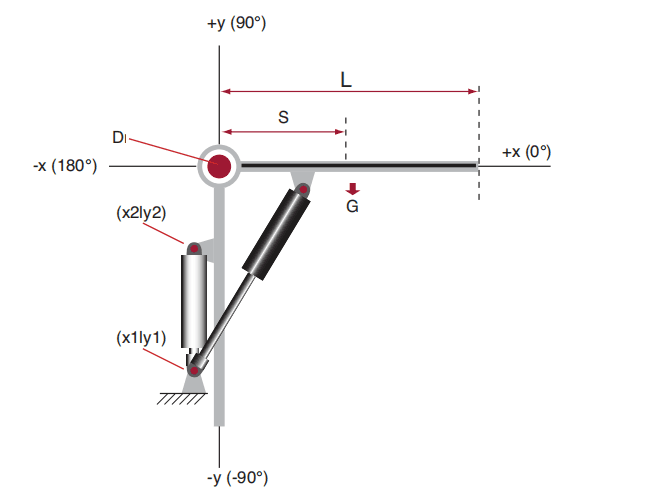
Don’t guess by feel. Use the industry‑standard moment‑balance formula, which aligns with the selection methodology found in technical manuals from brands like Stabilus and Suspa, and conforms to the general principles of ISO 11901:
F = (G × A) ÷ (B × N) × K
| Symbol | Parameter | Unit | How to get it |
|---|---|---|---|
| G | Total door weight (with handles) | N (kg × 9.8) | Weigh the fully assembled door |
| A | Distance: centre of gravity → hinge pivot | mm | Balance method or CAD measurement |
| B | Perpendicular distance: strut axis → hinge pivot (door open 10‑15°) | mm | Measure at 90° to the strut line |
| N | Number of struts | – | Usually 2; single‑strut setups need a stronger hinge |
| K | Safety factor | – | 1.1‑1.2 for dry indoors; 1.5 if the door may absorb moisture |
The most misunderstood number is B. It’s not the strut’s overall length — it’s the effective lever arm. Measure it at the door’s hardest point (about 10‑15° from closed). Get B wrong, and the formula gives you a force value that either launches the door open or can’t hold it up at all.
After calculating: pick the next standard force up — don’t jump to a much bigger one. Over‑speccing makes the door brutally hard to close.
Summary: Calculate the torque balance, not just the door weight.
Quick‑Reference: Common Door Weights & Suggested Specs
| Door type | Typical weight (kg) | Cylinder Ø (mm) | Stroke (mm) | Force range (N) |
|---|---|---|---|---|
| Small flip‑up cabinet (<5 kg) | 2‑5 | 15 | 100 | 50‑80 |
| Medium cabinet (5‑15 kg) | 5‑15 | 19 | 200 | 100‑200 |
| Heavy timber door (15‑30 kg) | 15‑30 | 22 | 300 | 300‑500 |
| Equipment lift (>30 kg) | 30+ | 28+ | 400+ | 600+ |
For a complete size chart, see our cabinet gas struts dimension guide.
Installation Geometry: Position & Angle Determine Everything
Over‑center for self‑locking
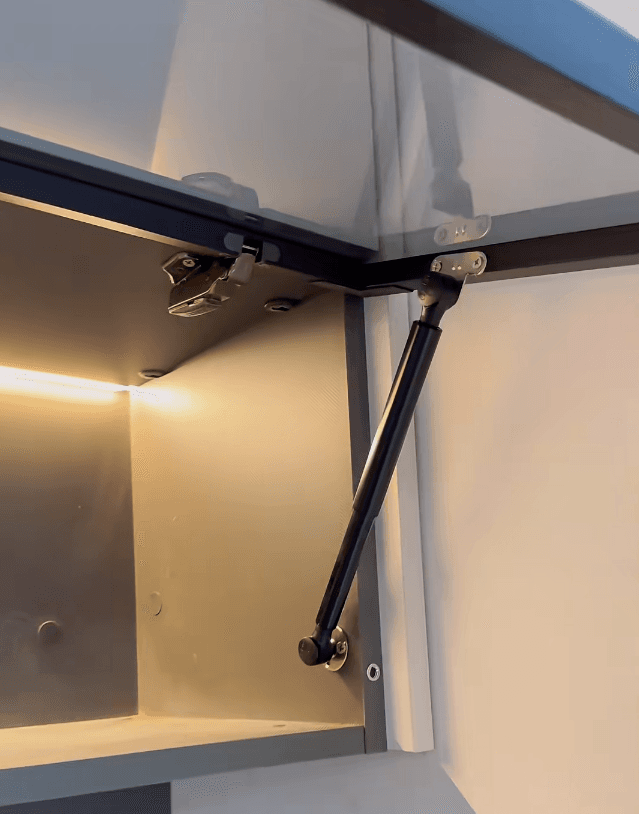
When the door is closed, the strut’s axis must cross past the cabinet‑side mount point. This switches the strut’s push into a pull, clamping the door against the frame. Without this over‑center geometry, the door will sit ajar, ready to bounce open with vibration.
Stroke & clearance: don’t let the strut bottom out
A strut that runs out of stroke becomes a solid link — and something will break.
Stroke check: S ≥ L_max − L_min + 5∼10 mm
Where L_max is the installed length fully open, L_min fully closed. The extra 5‑10 mm safety margin stops the piston from slamming into the end of the tube. On a typical cabinet, aim for the strut to be working in its 70°‑100° sweet spot when the door is around 90° open.
Mounting point rules of thumb
- Upper mount (door side): about ⅓ of the door height from the hinge. This splits the opening moment more evenly.
- Lower mount (cabinet side): mirror it symmetrically. A 1‑2 mm asymmetry creates a twisting load that causes squeaks and premature wear.
- Ball‑stud clearance: leave about 3° of angular float at each ball joint. Wood moves with humidity; a rigidly constrained strut will bind and bend its rod.
Rod Orientation: A Non‑Negotiable Rule
Damped struts: piston rod DOWN. Brands like Stabilus and Suspa print it in their manuals for a reason. Point the rod up, and the oil pool sits at the wrong end of the tube — the damping valve runs dry, and the door slams every time. Free (non‑damped) struts are more forgiving but still prefer rod‑down to keep the seal lubricated.
Summary: Over‑center keeps it shut, stroke keeps it safe, rod‑down keeps the damping alive.
Installation & Troubleshooting: An Expert’s Guide
Safety First: Before removing any existing gas strut or adjusting mounts, always securely prop the flap door open. A sudden release can cause injury.
5 installation mistakes that ruin a perfectly good strut
- Wood screws only – they pull out under repeated load. Use machine screws into threaded inserts.
- Ignoring door flex – long doors bow without a central stiffener; strut force accelerates the warp.
- Swapping left/right dampers – some pairs have handed damping rates. Swap them, and one side slams while the other drifts.
- Zero expansion clearance – timber moves; leave gaps or the door will bind.
- Forcing ball studs – clipping on with brute force scars the ball, leaving a click at every cycle.
Free troubleshooting sequence
When a strut “feels weak,” do this before ordering a replacement:
- Tighten every screw. In the majority of cases we see, “worn‑out” struts are simply due to loose mounts.
- Check for moisture weight gain. A damp MDF door can be 15‑20% heavier than when installed.
- Inspect rod and seals. Look for oil mist or scoring.
Only then swap the strut. This three‑step check has consistently reduced unnecessary returns in our field experience.
Environmental & lifecycle notes
- Temperature: above 80 °C, specify fluorocarbon seals; below -30 °C, confirm cold‑rated performance.
- Life: a standard strut is rated for ~30,000 cycles. For high‑traffic commercial doors, choose an uprated brand or size with a larger safety factor.
- Side loading: gas springs take axial force only. If the door’s arc creates a lateral component, add a guide link or re‑position the mounts until the strut’s line of action stays purely axial.
Summary: Mount right the first time, troubleshoot in three steps, and know when the environment demands an upgrade.
Conclusion: Precision Trumps Price
A 100 strut mounted wrong. The loop is closed: pick the right type, calculate the force, get the geometry and stroke right, then troubleshoot methodically. Grab a tape measure, check your over‑center and rod orientation tonight, and post your before‑and‑after photos — watching a flap door go from annoying to flawless is the best proof that the formula works.